We’ve talked about how to convert a Nitro Savage into a “Flux HP”, even with a Center Diff. This article takes us further, that we will convert a whatever version of HPI Savage into an “XL Flux” – with the option to use a Center Diff, as well!
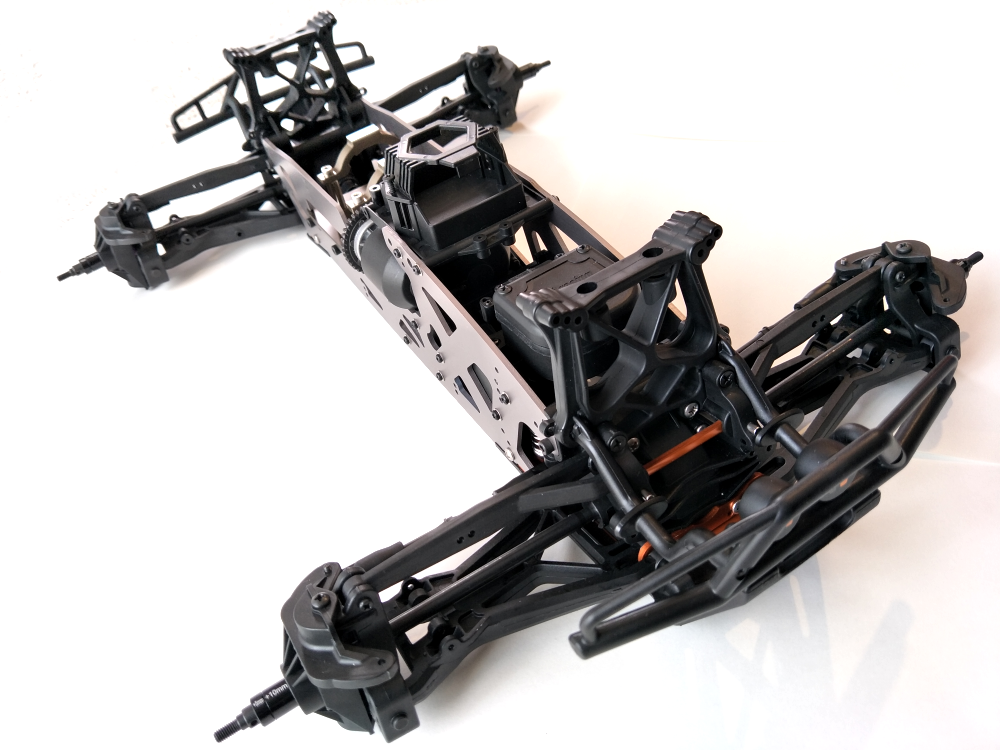
Actually, we don’t have too many choices about how to convert – simply because Everything between the front and the rear bulkheads – is different!
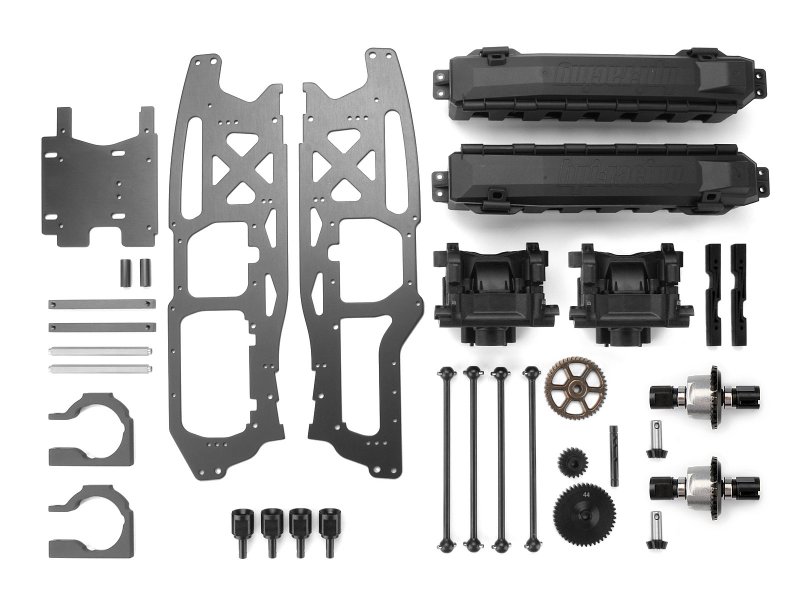
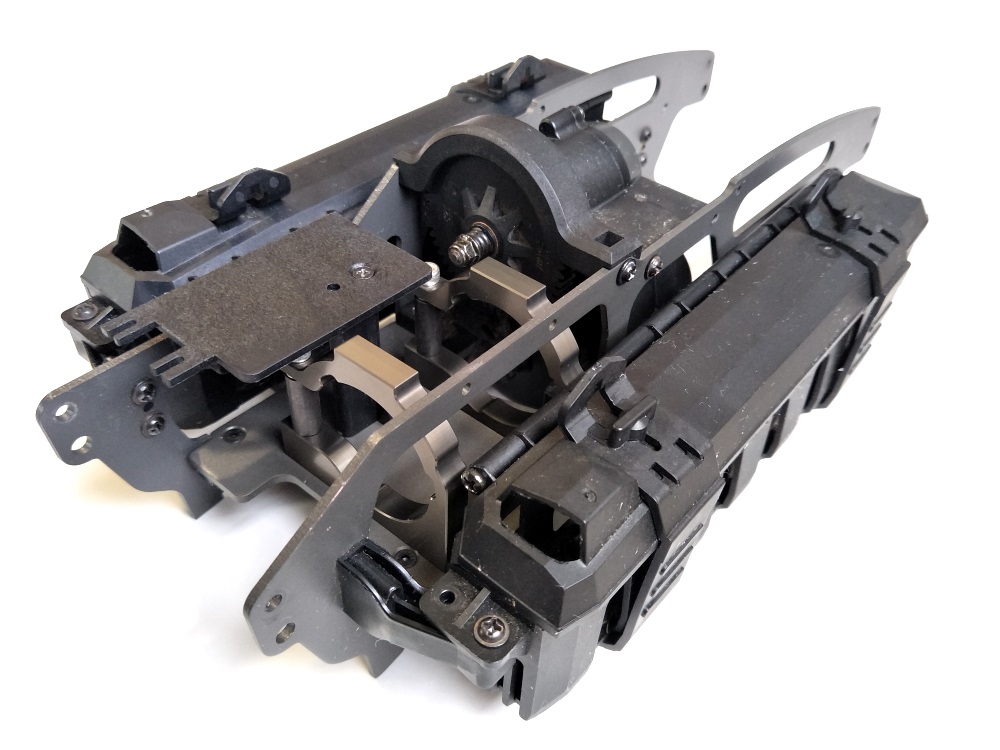
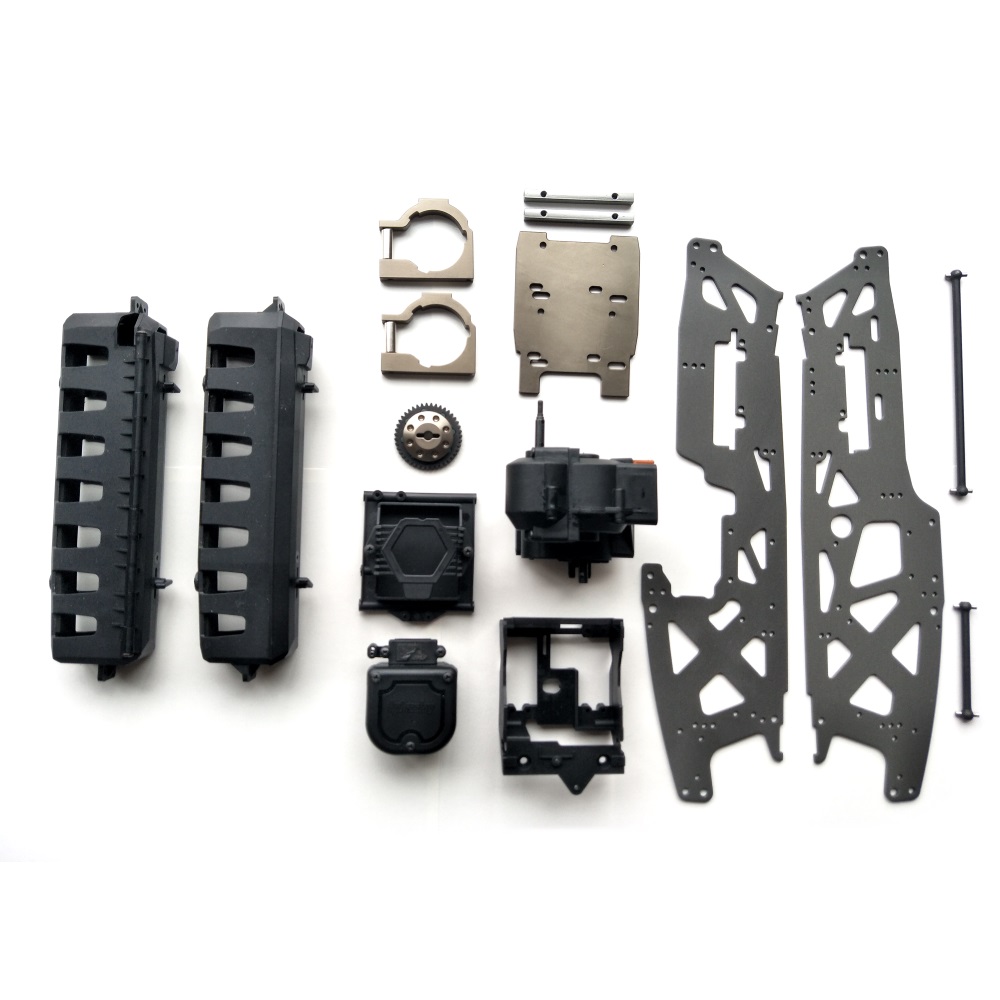
So this makes the work easier: Just look at the above picture and get all the parts in it. Here is a list:
- XL Flux TVPs
- XL Flux Transmission or XL Flux Center Diff Transmission
- XL Flux Motor Plate, Brace, Motor Mount and Spacers
- Twin Slipper Clutch (TSC) and Spur Gear
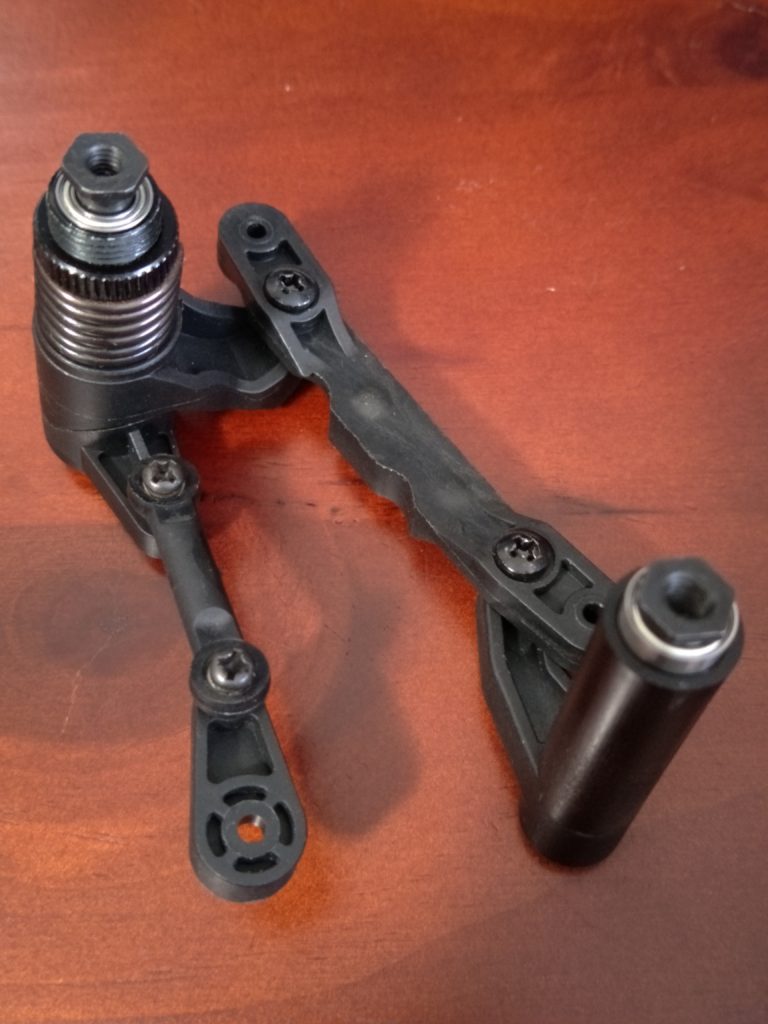
- Steering Servo Mount Box
- Receiver Box Set
- ESC Mount Box Set
- Bettery Box Set plus Longer Mount
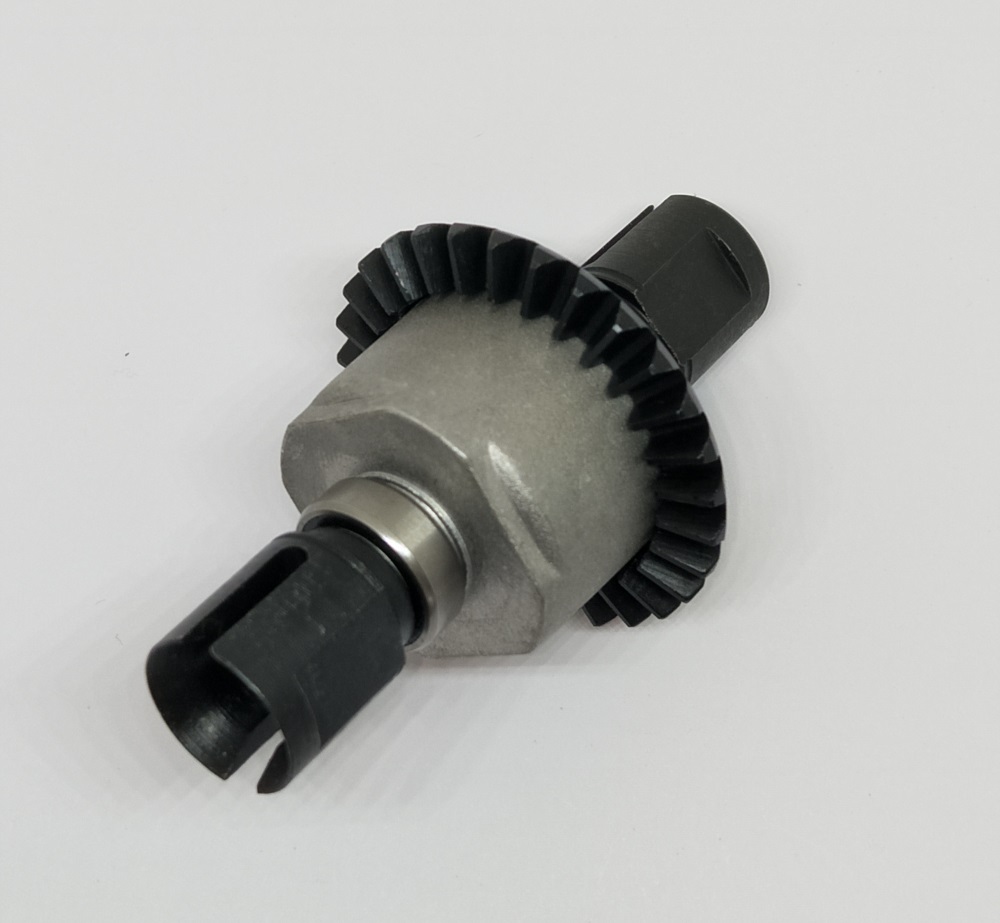
- Center Front Dog Bone/Drive Shaft
- Center Rear Dog Bone – Please continue reading ……
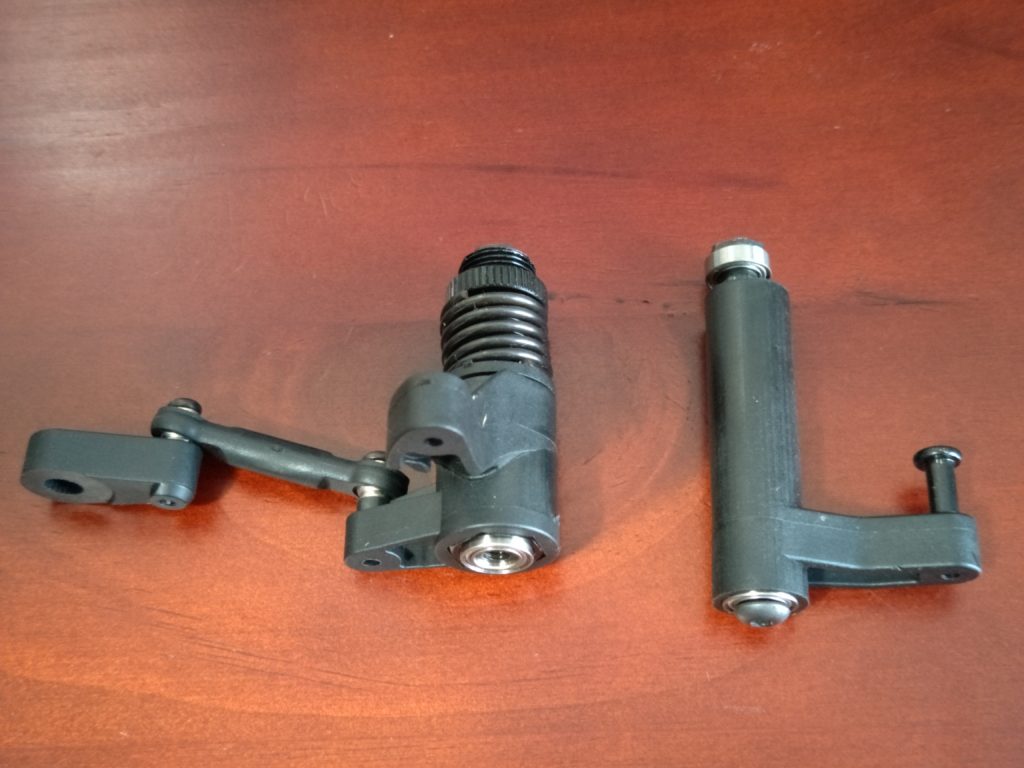
Yes the front and rear shafts are different from other Savages – That’s why we say “everything between front and rear bulkheads is different”! And, the Center Rear Dog Bone/Drive Shaft is even more tricky:
- If you use a “Brake Hub” #109628 like the one below, you can use the stock 142mm rear dogbone for XL5.9 (#86054)
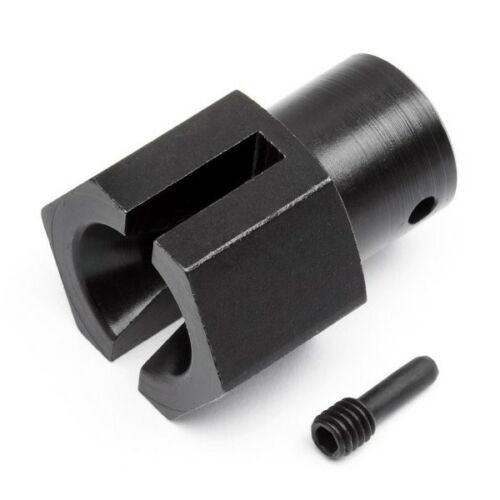
- Otherwise if you use a Cup Joint such as #86082, #86276, or #86322 you need to use the longer 150mm dogbone.
This is because the “Brake Hub” is longer.
That’s it. Get some Screws to bolt them on. Guess you already have Motor and ESC, Pinion Gear, Radio and Servo – Congratulations again! Your XL Flux is ready to roar!
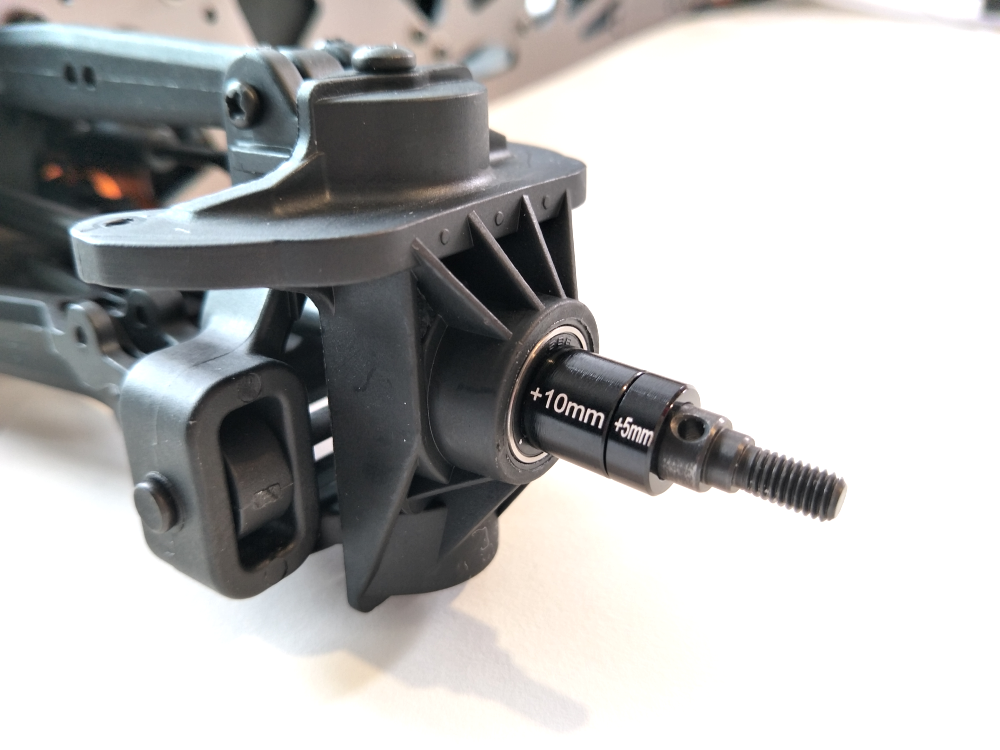
BTW, your Savage is now longer, you want it wider? Change all four drive shaft to the beefy CVD with 15mm extension on each corner, or use the Heavy Duty Wide Axle.
Now, Choose your Brushless Motor for this 1/8 Monster Truck! Click Here.